Canon MF244DW: Maximizing Productivity with Advanced Features – Step-by-Step Setup Guide
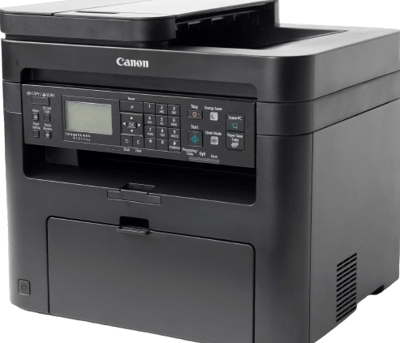
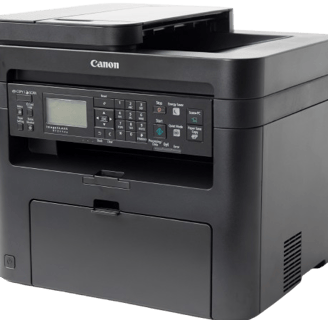
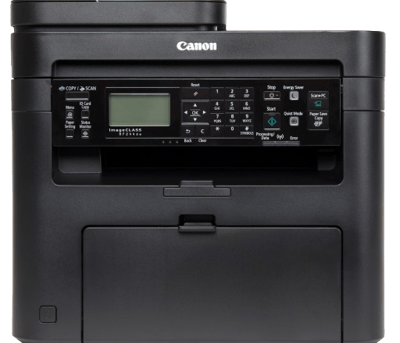
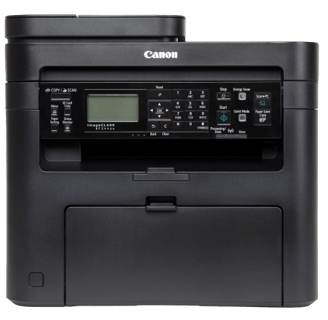
The Canon imageCLASS MF244DW is a powerhouse of productivity, but to fully utilize its capabilities, it’s essential to set it up correctly and understand its features in depth. Here’s a step-by-step guide on getting the most out of this multifunction printer for an optimized workflow.
Praveen Kumar - Canon Printer Specialist
11/10/20244 min read
1. Setting Up Duplex Printing for Paper and Cost Savings
Duplex, or double-sided printing, saves on paper and helps cut costs. Here’s how to set it up as the default for seamless double-sided printing every time:
Step-by-Step Setup:
Access Printer Settings on your computer by navigating to Devices and Printers (Windows) or Printers & Scanners (Mac).
Select the Canon MF244DW printer, then go to Printing Preferences or Print Setup.
In the settings window, locate the Duplex Printing or Two-Sided Printing option and enable it.
Save the setting, and double-sided printing will be your new default.
Usage Tips:
Use duplex printing for documents that don’t need to be single-sided, like internal memos or drafts.
Create a preset profile if your printer allows it, so you can switch back to single-sided quickly for documents that need it.
2. Optimizing Scanning Quality with High DPI Settings and OCR Integration
High-quality scanning ensures that your digital documents retain clarity and are easily read. Here’s how to set up high-resolution scanning and pair it with Optical Character Recognition (OCR) software for searchable documents.
Step-by-Step Setup:
Access the Scanner Settings on the MF244DW by selecting Scan on the control panel.
Choose Resolution and set it to 600 dpi for maximum clarity.
If scanning text-heavy documents, set your software to black-and-white mode to improve contrast and readability.
To add OCR capabilities, install OCR software (many Canon scanners come with a compatible software suite), then select Save as Searchable PDF or Convert to Text during scanning.
Save your settings for consistent quality.
Usage Tips:
Use OCR for receipts, contracts, and invoices to make them easy to search later.
A lower resolution (300 dpi) for routine scans can speed up the process while keeping file sizes smaller.
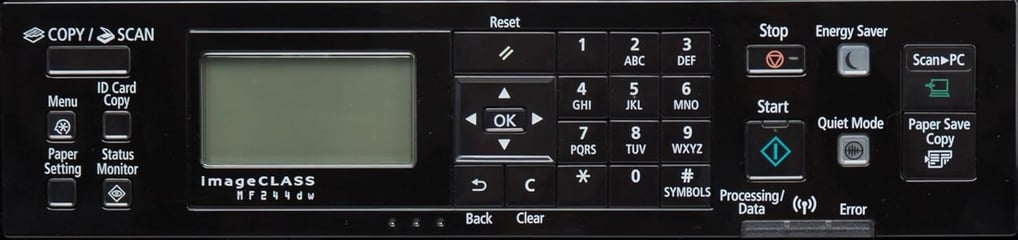
3. Customizing the Control Panel for Faster Access
The MF244DW’s control panel offers shortcuts that can save you time by quickly accessing frequently used functions.
Step-by-Step Setup:
Access the Settings Menu on the MF244DW’s control panel.
Go to Function Settings and select Register Favorite Settings.
Choose the most-used functions, such as Copy, Scan, or Duplex Printing, and save them as quick-access buttons on the main screen.
For multiple users, consider creating user profiles that retain personal shortcuts.
Usage Tips:
Set up a shortcut for "Single-Sided Copying" and "Duplex Copying" to toggle between modes quickly.
If multiple people use the printer, personalize shortcuts with their specific scanning and printing needs.
4. Setting Up Wireless Connectivity for Remote Printing
Printing wirelessly is a major convenience, especially in busy office environments where users need flexibility. Here’s how to set up and manage wireless printing on the Canon MF244DW:
Step-by-Step Setup:
Connect the Printer to Wi-Fi by navigating to Menu > Network Settings > Wireless LAN Settings on the control panel.
Follow the prompts to connect to your Wi-Fi network (you may need your network password).
For mobile printing, download the Canon PRINT Business App on your smartphone (iOS or Android).
Open the app and follow the setup instructions to add the MF244DW as a printer option.
For computer printing, connect via Wi-Fi Direct if your device supports it, or use AirPrint if you’re on a Mac.
Usage Tips:
Use wireless printing for quick printing needs without being tethered to your desk.
Check the printer’s Wi-Fi signal strength in the settings if you encounter connectivity issues.
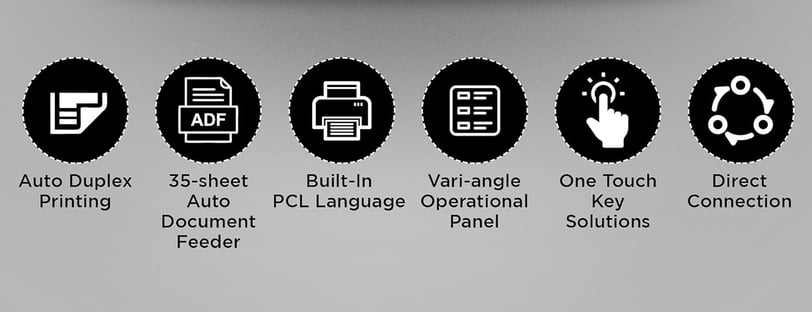
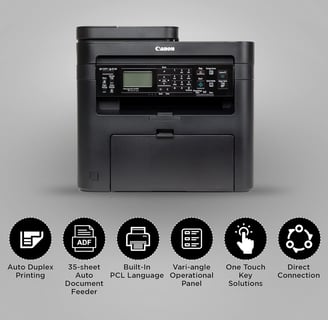
5. Setting Up the 250-Sheet Tray and 35-Sheet ADF for Bulk Tasks
The 250-sheet tray and Automatic Document Feeder (ADF) streamline large print and scan tasks, reducing the need for frequent paper loading and manual handling of multi-page documents.
Step-by-Step Setup:
Load paper into the 250-Sheet Paper Tray by pulling the tray out and adjusting the paper guides to fit the paper size (e.g., A4, letter).
For the ADF, load multi-page documents (up to 35 sheets) by placing them face-up in the feeder tray.
Check the ADF settings to ensure the device is set to handle the expected size and orientation.
Test with a multi-page document to confirm smooth feeding and accurate scanning.
Usage Tips:
Use the ADF for double-sided documents—it saves even more time when combined with duplex scanning.
Keep spare paper nearby to quickly refill and prevent workflow interruptions.
6. Configuring Energy Saver Mode and Auto On/Off for Efficiency
Energy efficiency is both eco-friendly and cost-effective. Here’s how to configure power-saving features on the MF244DW.
Step-by-Step Setup:
On the control panel, go to Menu > System Settings > Energy Saver Mode.
Set Energy Saver Mode to activate after a short period of inactivity (e.g., 5 minutes).
Enable Auto On/Off so the printer wakes up automatically when a print job is sent and powers down when not in use.
Usage Tips:
Use these settings to ensure minimal power usage when the printer is idle, especially during off-hours.
Encourage team members to use the energy-saver feature when possible to support sustainability efforts.
7. Enabling Secure Printing for Data Protection
For organizations that handle sensitive data, enabling Secure Print ensures only authorized personnel can retrieve specific documents.
Step-by-Step Setup:
Go to Settings > Print Settings > Secure Print on the control panel.
Set a PIN code that users will need to enter at the printer before their document is printed.
For high-security environments, share the PIN only with authorized users or set up unique user PINs.
Usage Tips:
Use Secure Print for confidential documents, such as HR paperwork or client files.
Enable PIN reset options in case of forgotten codes, and communicate policies clearly with all users.
Conclusion: Maximizing Canon MF244DW for Productive Workflows
By setting up and customizing the Canon imageCLASS MF244DW’s features, you can significantly enhance productivity, maintain organized workflows, and ensure secure document handling. Whether you’re managing high print volumes or optimizing scanning and copying, the MF244DW’s advanced features are designed to streamline tasks, making it a smart investment for any efficient office setup.
Thanks For Reading :)
Insights
Explore the latest in printer technology and tips.
Resources
Support
contact@bestprintershop.com
+918920029543
© 2024 BestPrinterShop . All rights reserved.